")
It can be a very difficult situation if your original WordPress administrator account is compromised or you are not able to access the WordPress dashboard to create a new admin user account. We thought of coming up with an article which can help our clients and users in general if they find themselves in similar situation.
In this article, we will cover a detailed step by step guide for you on how to create an admin user to the WordPress Database via cPanel using phpMyAdmin.
Note: Please take a backup of your database before making any MySQL edits. This tutorial would require you to have a basic understanding of how phpMyAdmin works.
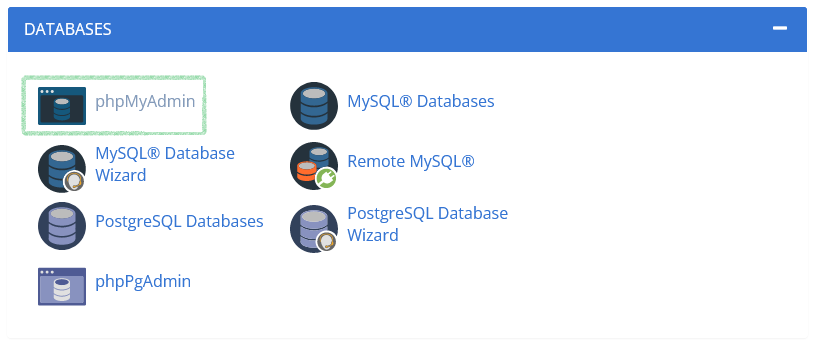
Login to your cPanel account and access phpMyAdmin and locate your WordPress database. (Below is a screenshot taken from a Bluehost cPanel)
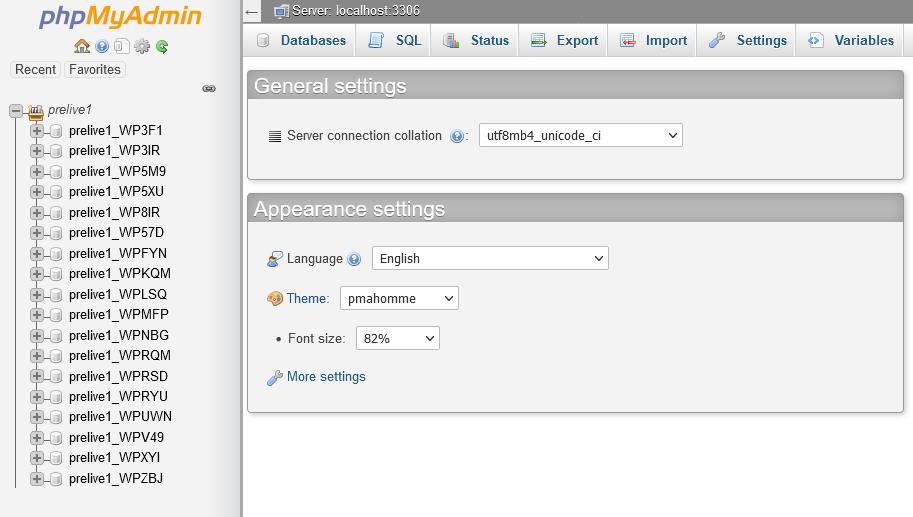
Select the correct database from a list of available databases in your phpMyAdmin from the left side menu.
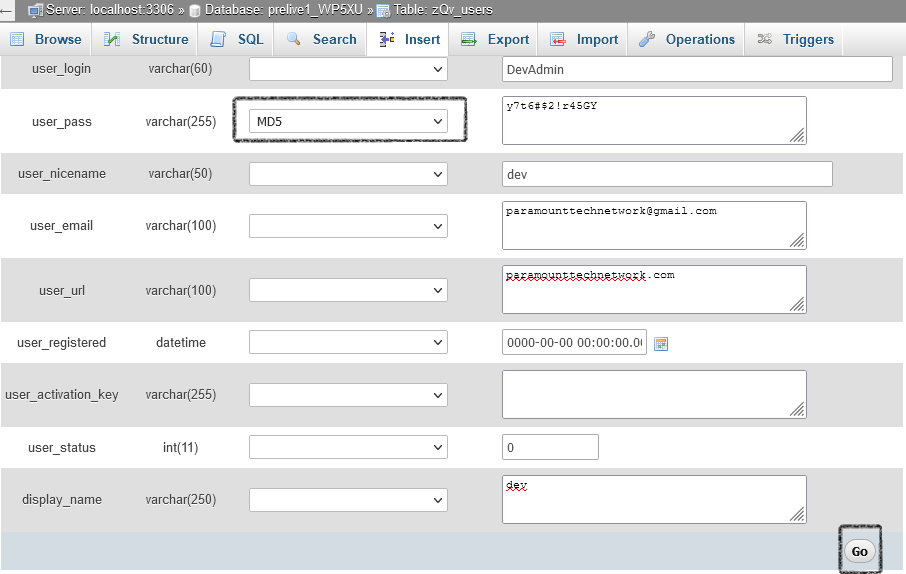
Once you have selected the correct database, look for users and usermeta tables. Go ahead and click on users table. This table might be called wp_users in your menu.

Select Insert from the top menu, as highlighted in the above screenshot. We will need to add our new admin user’s information. In the insert form, add the following.
- ID – Pick a number which isn’t already used by another user (in our example, we will use the number 7).
- user_login – add the username you want to use for accessing the WordPress dashboard.
- user_pass – pick a password for this username. Make sure you select MD5 in the functions menu (Please refer to the screenshot below).
- user_nicename – add a nickname for user.
- user_email – add the email address you want to associate with this user account.
- user_url – this would be the url of your website.
- user_registered – pick the date and time when this user will be registered.
- user_status – set this to 0.
- display_name – use the name you would like to display for this user (you can use your user_nicename value as well).
- On the right, click on the Go Button
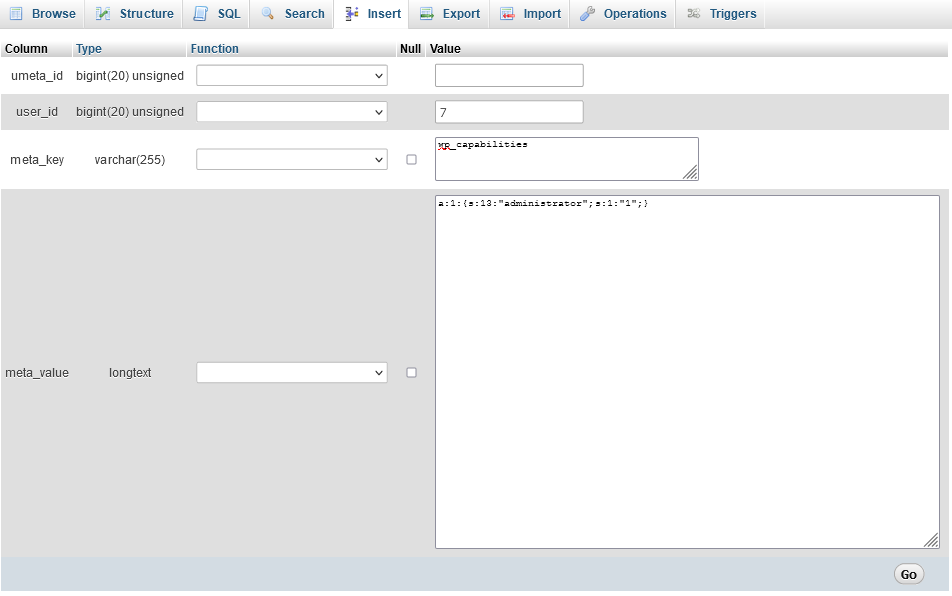
Now, we are going to add the values to usersmeta table. From the left-side menu, select usermeta table. This table might be called wp_usermeta in your menu. From the top menu, select Insert.
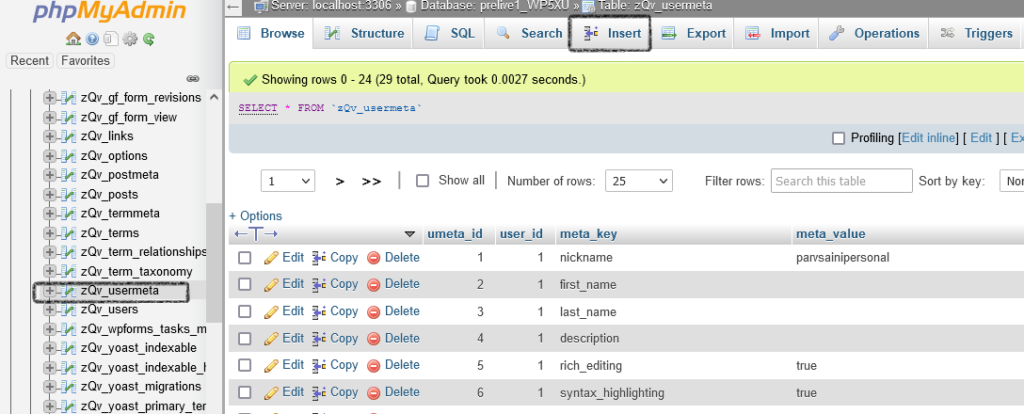
- unmeta_id – You can leave it blank (it will be auto-generated)
- user_id – This will be the user id we created in the previous step. Remember we picked 7.
- meta_key – Enter wp_capabilities
- meta_value – Add:
a:1:{s:13:"administrator";s:1:"1";} - Select Go.
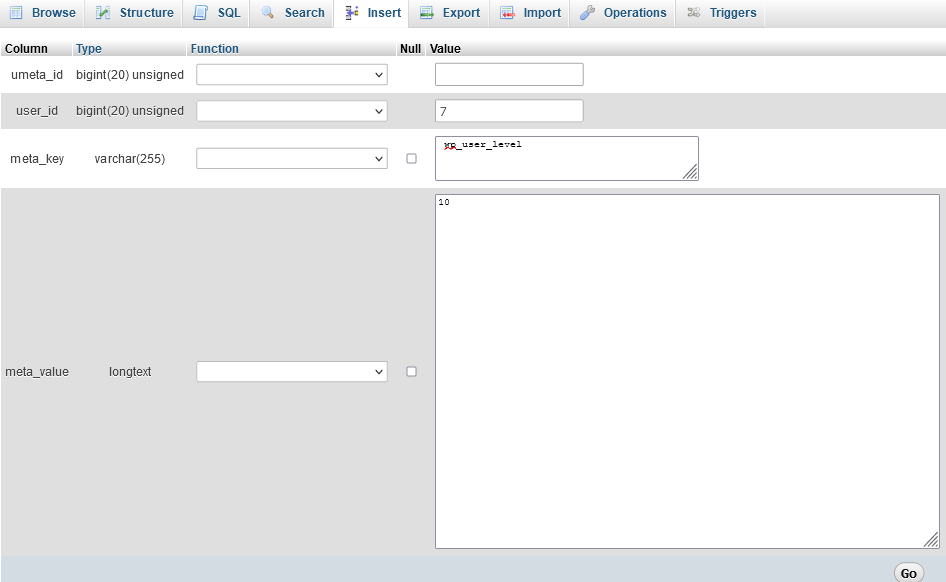
Select Insert tab again and under Value column, add the following information:
- unmeta_id – leave this blank (it will be auto-generated)
- user_id – This will be the user id we created in the previous step. Remember we picked 7.
- meta_key – Enter wp_user_level
- meta_value – 10
- Select Go.
That’s it. You have created yourself a new username. You can now sign in to WordPress with your new username and password.